How to Acquire $OZ Tokens
Ready to join the Ozak AI community and get your hands on some $OZ tokens? Fantastic!
Buying tokens in a presale might seem a bit technical if you're new to it, but don't worry. This guide will walk you through the entire process, step by step. We'll make it simple, safe, and clear.
Important Note: During the presale, $OZ is only available through our official website: https://ozak.ai. Please be careful of fake sites and scams.
Before You Begin: The Golden Rules
First, let's cover a few essential tips to ensure your purchase goes smoothly.
What to Do
- Use a Personal Crypto Wallet: You'll need a wallet that you control, like MetaMask or Rabby Wallet. This is where your $OZ tokens will live.
- Have ETH for "Gas": The Ethereum network requires a small fee (called a "gas fee") for every transaction. Make sure you have at least $5-$10 worth of ETH in your wallet to cover this.
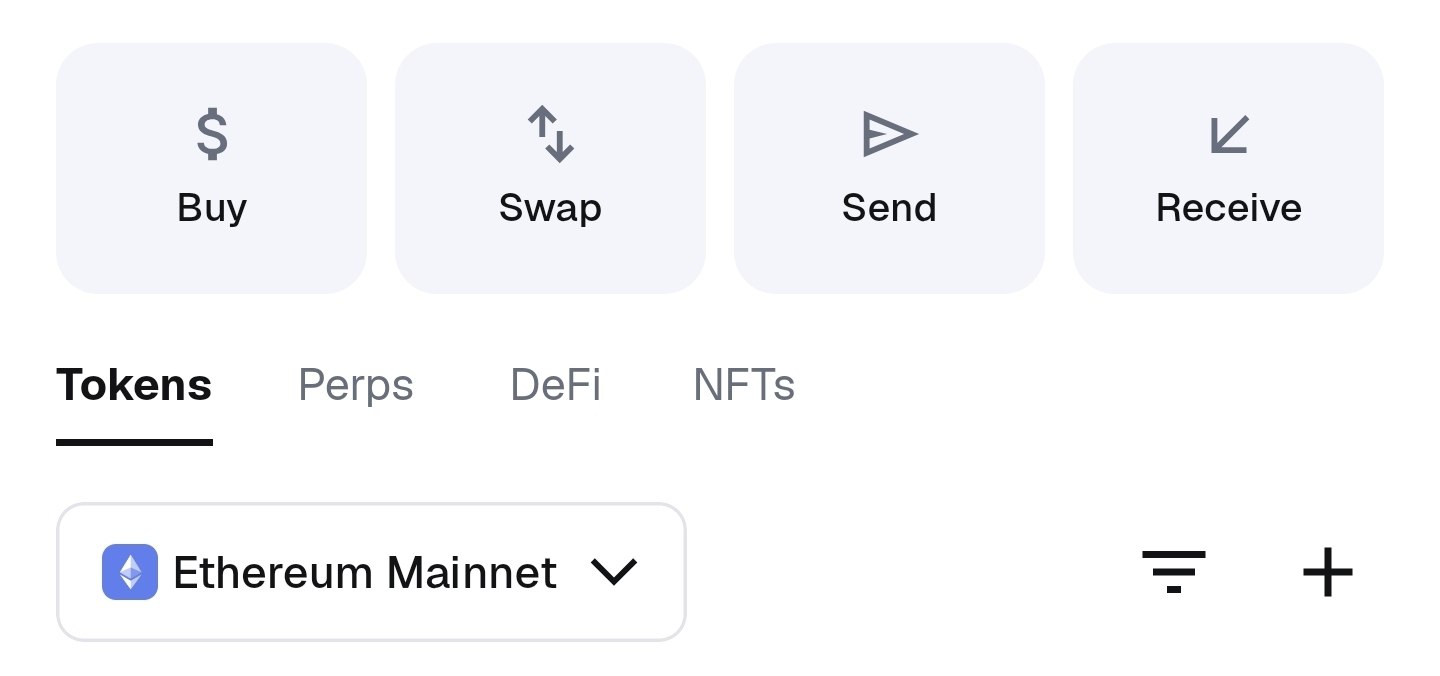
- Stay on the Ethereum Network: Double-check that your wallet is set to "Ethereum Mainnet" before you start.
What to Avoid
- Don't Send Crypto from an Exchange: Do NOT send funds directly from an exchange like Coinbase or Binance to the presale address. You won't receive your tokens. You must send funds from your personal wallet after connecting your wallet.
- Don't Forget Gas Fees: If you try to buy $OZ with USDT or USDC but have zero ETH, your transaction will fail. You always need ETH for the gas fee.
Step 1: Get Your Digital Wallet Ready
Your crypto wallet is like your bank account for the digital world. It's where you'll store your funds and your new $OZ tokens.
Security First: The most important rule of crypto is to never share your "Seed Phrase" or "Private Keys" with anyone. Write them down and store them safely offline where no one can find them. This is your master key; if someone gets it, they get your funds.
If you don't have a wallet yet, we recommend MetaMask.
- Visit the official site at https://metamask.io and download the browser extension or mobile app.
- Follow the setup instructions to create a new wallet.
- Write down your Secret Recovery Phrase and store it somewhere safe (offline!).
- Once set up, make sure your wallet is connected to the Ethereum Mainnet. You're all set!
Step 2: Funding Your Wallet
Now that you have a wallet, you need to add funds to it. You can buy $OZ with ETH, USDT, or USDC. Remember, you'll also need some extra ETH for the gas fee.
Option A: Buy Crypto with a Card
If you're new, this is the easiest way. You can use a trusted service to buy crypto with your debit/credit card and send it directly to your wallet address from MetaMask (the one that starts with "0x..."). To copy your wallet address, click on the copy button at top.

Option B: Bridge Crypto from Another Network
If you already have crypto on another network (like BNB Chain, Polygon, etc.), you can use a "bridge" to move it over to the Ethereum network.
Step 3: The Main Event: Buying Your $OZ Tokens
With your wallet funded, you're ready for the exciting part!
- Go to the Official Presale Page: Open your browser and navigate to ozak.ai. Bookmark this page to avoid phishing sites.
- Connect Your Wallet: Click the "Connect Wallet" button, and chose your wallet (such as MetaMask). A pop-up from your wallet (e.g., MetaMask) will ask to login and then will ask for permission to connect. Approve it. You might also be asked to sign a message to verify you're the owner - this is safe and standard. You are now connected.
- Choose Your Payment Method: Now on Ozak AI's website, select whether you want to pay with ETH, USDT, or USDC.
- Enter the Amount: Type in how much you want to spend. The dashboard will instantly update to show you exactly how many $OZ tokens you'll receive. Click Max to buy the maximum amount of $OZ.

- Confirm the Purchase: Click the "Buy Now" button. Your wallet will pop up one last time showing the total cost (your purchase amount + the gas fee). Review the details and click "Confirm."
- Success! After about 15 seconds, the network will confirm your transaction, and the page will show a success message.
That's it! You can now log into the dashboard at app.ozak.ai and see your purchased $OZ tokens under the "Total $OZ Bought" section.
Welcome to the community!